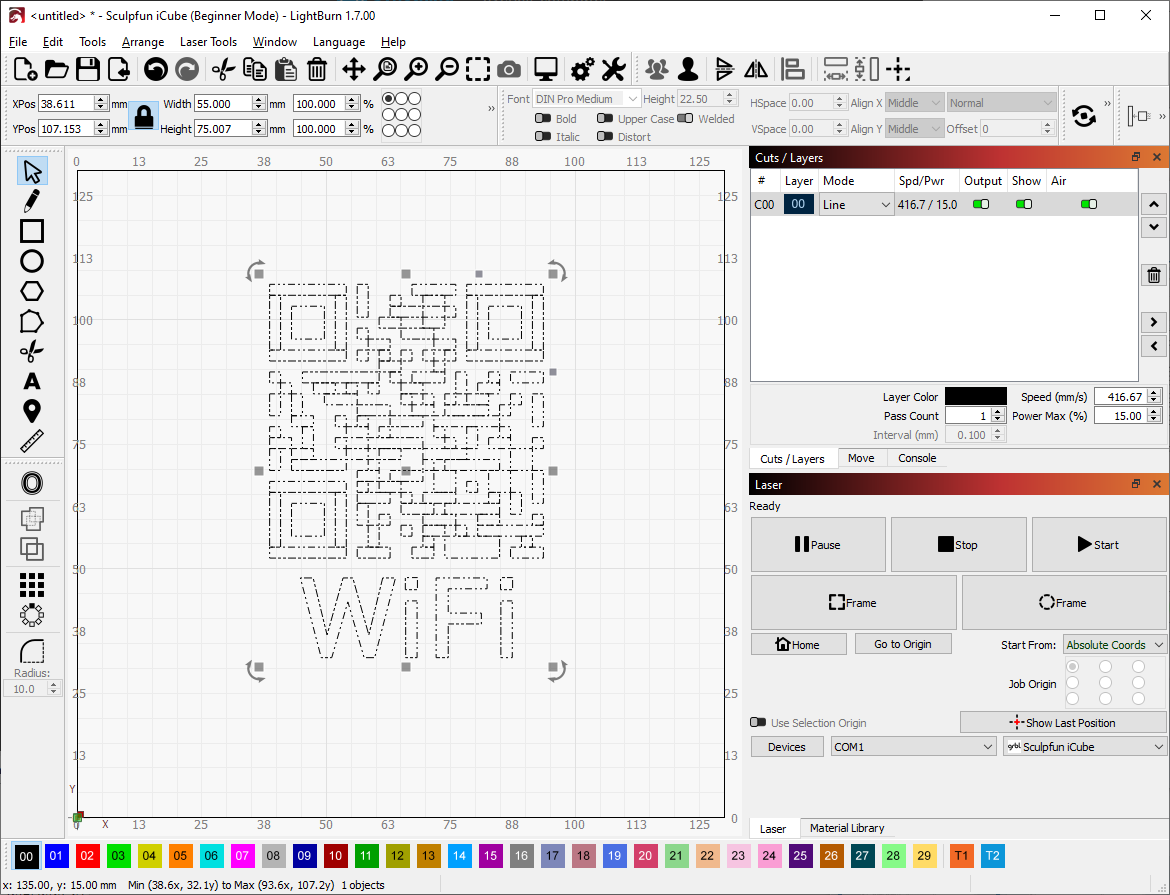
LightBurn is layout, editing, and control software for laser cutters and engravers. On the official site, LightBurn Software describes it as “the industry standard design & control software for your laser” — a fully-featured layout & design suite that works with CO2, fiber, and diode lasers, with a buy-once license and optional annual updates.

What you can do in LightBurn (official overview)
According to LightBurn Software, with LightBurn you can:
- Import artwork in common vector and image formats
- Arrange, edit, and create new vector shapes in the editor
- Apply settings like power, speed, passes, cut order, brightness/contrast, dithering, and more
- Talk directly to your laser — no extra streamer required for supported controllers
Main window tour (from LightBurn docs)
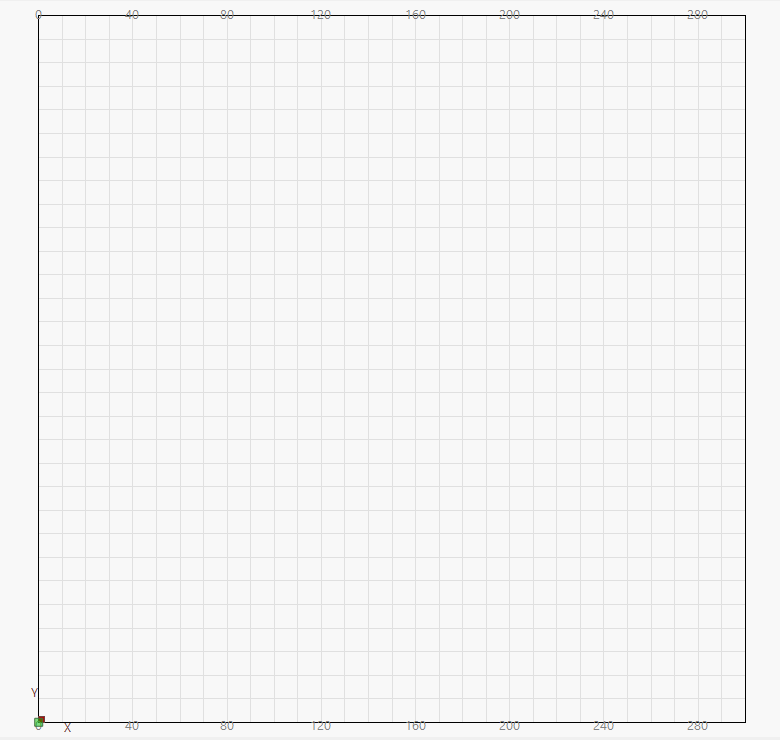
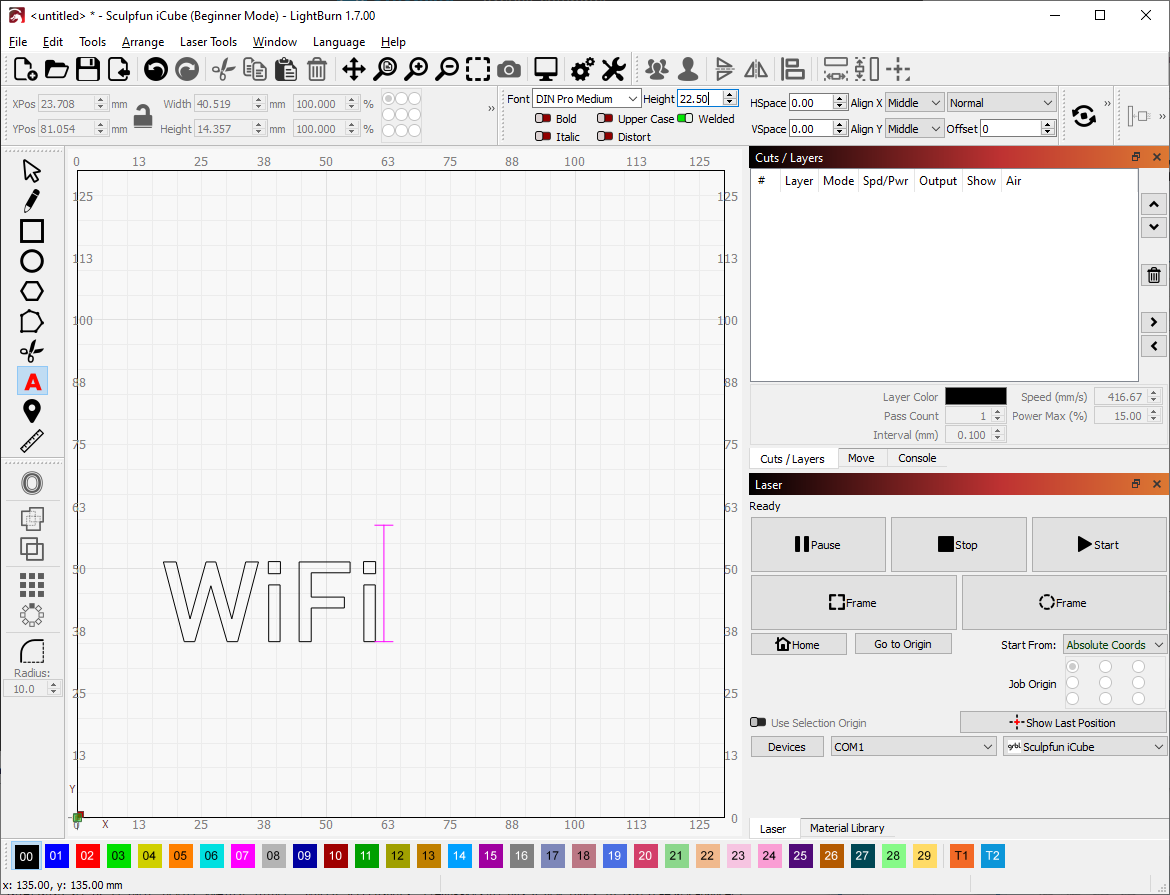
The official User Interface Tour breaks the main window into the areas you use most:
- Workspace — lay out graphics on a grid that matches your machine work area
- Creation / Modifier / Arrange toolbars — draw, combine, and position shapes
- Color Palette — colors assign operations (cut vs fill), not print color
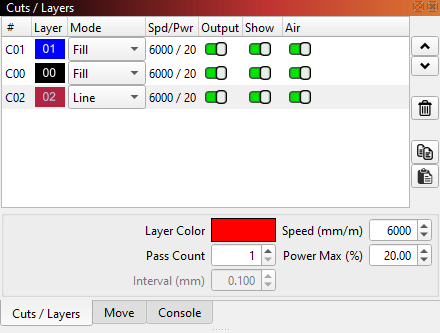
- Cuts / Layers — speed, power, and layer modes for each color
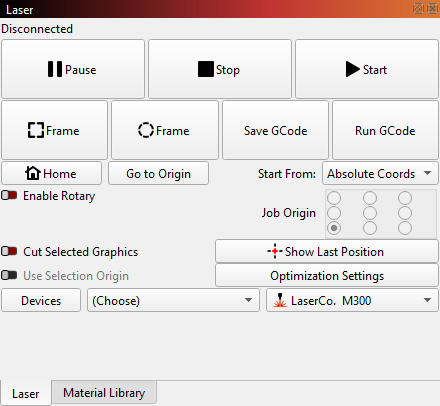
- Laser Window — device selection, framing, and starting jobs


Supported controllers
LightBurn states support for most Ruida, Trocen, TopWisdom, and GCode-based controllers, plus EZCad-based galvo fiber/CO2/UV lasers using EZCad2 or EZCad2-Lite boards. Always confirm your board on their site before buying.
Import Cut Stock DXF / SVG safely
- Download your design from the Cut Stock catalog
- In LightBurn: File → Import (or drag the SVG/DXF onto the workspace)
- Check scale units (mm) and that closed shapes are intact
- Assign layer colors: typically line = cut, fill = engrave
- Set material speed/power, Frame the job, then Start
Download only from the official trial page: lightburnsoftware.com/pages/download-trial. LightBurn offers an unrestricted 30-day trial. Avoid third-party “cracked” copies.